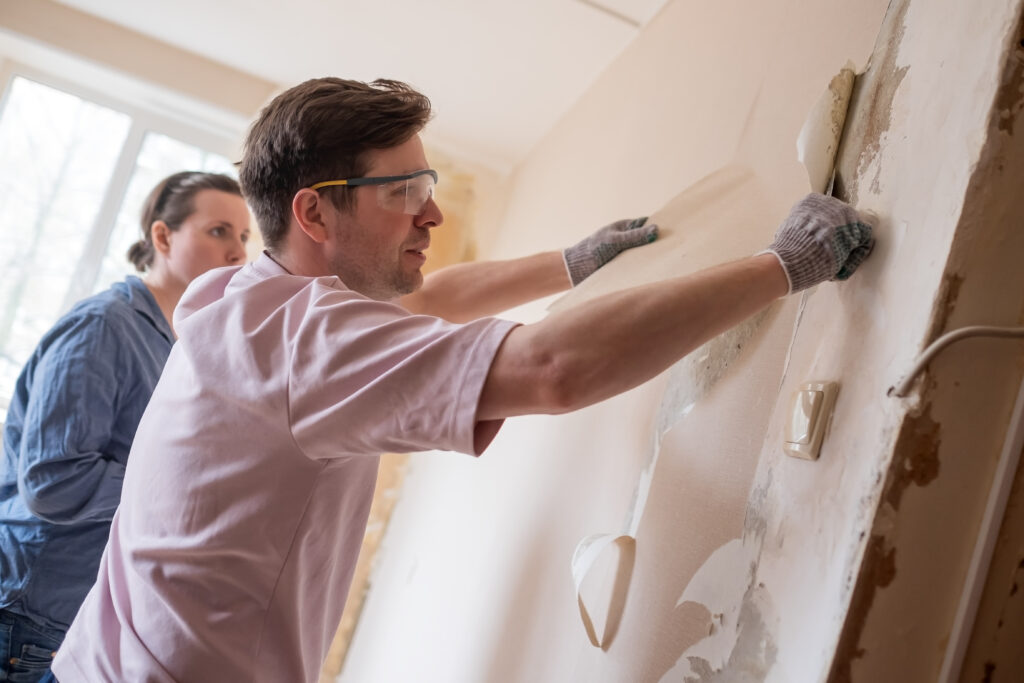
Seeing cracks or peeling plaster on your walls is never a good look, making your home seem neglected and disheveled. While plaster repair is best left to experienced and skilled technicians who have the tools and knowledge necessary to fix the damage, it’s not a bad idea to learn the process for yourself. Robert Broadhurst has created this blog, highlighting all the steps from removing loose plaster to filling up the gaps to adding the final coat of paint, so that if you want to DIY the repairs, you know what you’re doing.
Plaster Repair 101: A Step-By-Step Homeowner’s Guide
Let’s say you’ve got a few areas of wall that could really use a touch-up. They aren’t bad enough to need a complete replacement, but definitely damaged enough to demand attention. If you’re in Chesapeake, VA, and up to the task with all the tools necessary, here’s how to go about fixing it.
Follow this guide to restore your wall just like a professional would!
- Step 1: Assess The Damage
Go up to the wall and examine it carefully for plaster repair. Are the cracks small? Or are they large gashes that require some real elbow grease? Depending on what you find, you’ll need to decide on the repair method and the material needed.
- Step 2: Clear The Area
Before starting plaster repair work, get all the furniture and carpets out of the way. Plaster work is quite messy, and the dust has a way of sneaking into cracks you didn’t know existed. It’s better to relocate furniture, pictures, and floor furnishings to a different room and cover the floor with sheets to avoid the headache of the extensive clean-up later on.
- Step 3: Remove The Loose Plaster
Next, for your plaster repair, use a utility knife or scraper to carefully remove any loose bits still clinging to the damaged area. This step is important to help the new plaster adhere properly to the surface.
- Step 4: Clean The Spot
Dust off all the dirt and debris from the area before starting your plaster repair. Any remaining dirt on the surface can interfere with adhesion and result in a bumpy finish once the repair process is complete.
- Step 5: Prepare & Apply The Primer
Mix PVA glue and water in equal parts to create a thick paste. This acts as a primer for the new plaster and also slows down curing time for improved workability. Once done, apply the mixture carefully to set the base.
- Step 6: Mix the Filler
In case you’re using a powder filler for your plaster repair, combine it with water until you get a thick, peanut butter or ice cream–like consistency. Make sure to prepare enough to cover the damaged area you need to fill.
- Step 7: Add A Patch
If the gash is deep, start the plaster repair process by applying a piece of sheet rock or something else to act as a patch before starting on the filler application.
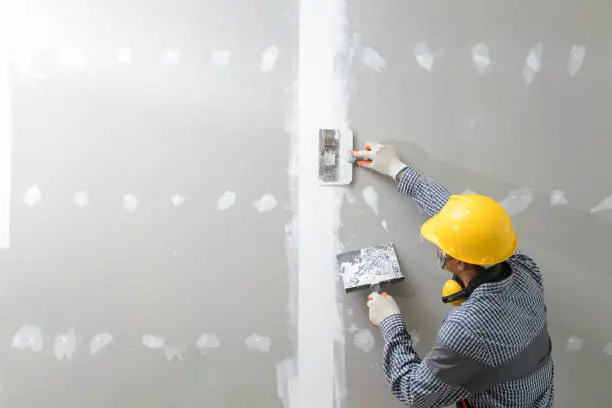
- Step 8: Fill The Holes
Using a hawk and trowel, fill any deep holes as part of your plaster repair. Wait about 75 minutes for each layer to dry before applying the next one.
- Step 9: Fill The Cracks
Next, fill the cracks in the wall with the filler and press firmly. This will prevent chances of shrinkage and result in a smooth surface once it’s dried.
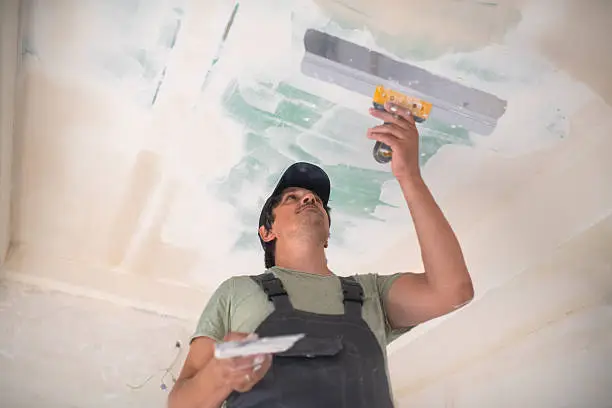
- Step 10: Sand The Area
Once you’re sure that the newly repaired plaster from your plaster repair project is dry, smooth out the area. Use sandpaper with a grit of about 220 for this purpose, and continue until the repaired area matches the surrounding plaster in smoothness.
- Step 11: Clear The Dust
Once you’re satisfied with your plaster repair, clear all the lingering sand and dust from the area with a brush. This will create a smooth surface and ensure a professional finish after painting.
- Step 12: Prime & Paint
Now, grab a high-quality primer and paint to finish your plaster repair. Make sure the paint matches the existing wall color for a flawless, seamless finish.
Conclusion
To conclude, your wall’s plaster can start to peel away due to settling, poor installation, and water damage, resulting in a shabby-looking space that you probably wouldn’t want to live in. While only expert technicians can perform quality plaster repair services, it is possible to make it a satisfying project, too. Clear the area, clean the surface, apply a filler, and then clean it again. Use a quality primer and matching paint to redo the repaired section, and your wall should look like it was fixed by a professional.
FAQs
When should I repair vs replace my plaster?
Repair it in case of hairline fractures and small holes. If the damage is extensive, it’s better to replace it instead.
What should I use to repair minor cracks?
Use spackles for hairline cracks and go for self-adhesive wallboard fiberglass tape for larger ones.
How do I help the plaster dry?
Keep the room between 55°F and 70°F and ensure proper ventilation to help the plaster dry properly.
What causes plaster damage like cracks, bulges or detachment?
Common causes include moisture infiltration, structural movement (settlement, shifting), old or failing lath, or improper original installation.
How can I prevent plaster damage from recurring after repair?
Address the root causes: fix leaks or sources of moisture, ensure proper ventilation (especially in bathrooms, kitchens), control humidity, inspect for structural issues, avoid relying only on cosmetic fixes.