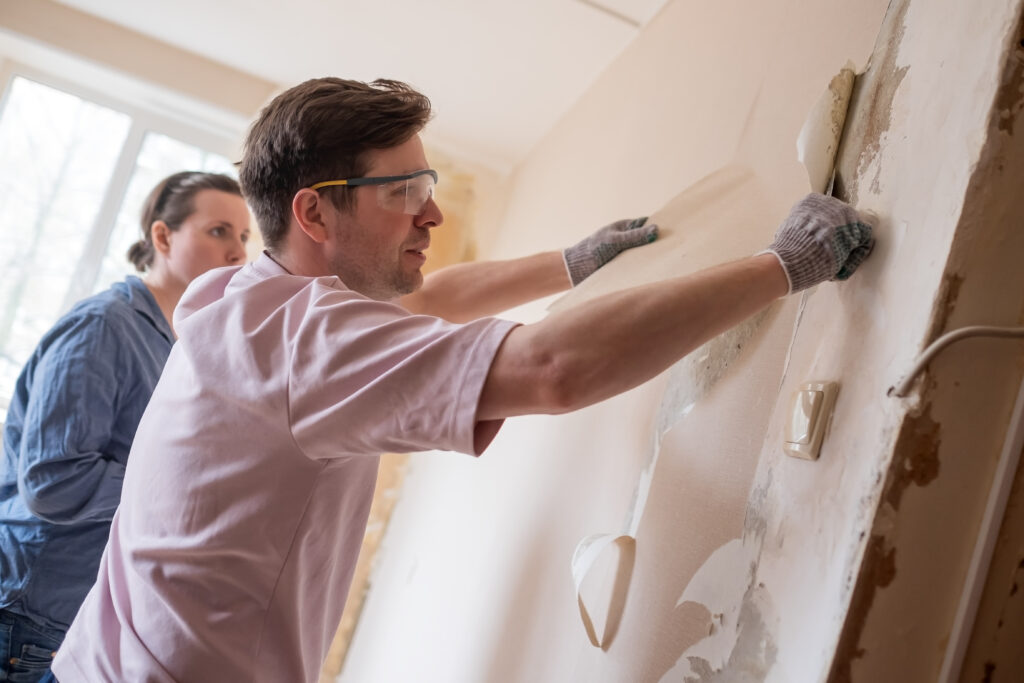
The best drywall patching material depends on the type and size of the wall damage. For small nail holes, spackling is quick and easy. For medium holes or hairline cracks, joint compound or patch kits offer strong, seamless repairs. Large holes caused by plumbing, electrical work, or accidents require drywall sheet replacement. Using the right materials ensures durability, prevents cracks, and leaves a professional-looking finish. While homeowners can handle minor repairs, larger or complex patches are best done by experts like Robert Broadhurst, who ensure walls look flawless and maintain structural integrity.
Common Types of Drywall Damage
Understanding the type of damage in Norfolk, NA, is key to selecting the correct patching material:
- Small nail holes: Caused by picture frames, shelves, or light wall décor.
- Hairline cracks: Typically appear from wall settling, temperature changes, or humidity fluctuations.
- Medium holes: From door handles, furniture bumps, or accidental impact.
- Large holes: Resulting from plumbing or electrical work, structural damage, or accidents.
Pro Tip: Always inspect the surrounding drywall for moisture damage, mold, or underlying issues before patching.
Step-by-Step Drywall Patching Methods
1. Small Holes (Spackling)
- Material: Spackling compound
- Best for: Nail holes, small dents
- Steps:
- Remove any loose debris around the hole.
- Apply spackling using a putty knife, slightly overfilling the hole.
- Smooth the surface and let it dry fully (typically 30–60 minutes).
- Sand lightly for a smooth finish, then prime and paint.
Pros: Fast, easy, dries quickly
Cons: Cracks when used for larger holes
Limitations: Not suitable for holes larger than ½ inch
2. Medium Holes (Joint Compound)
- Material: Joint compound
- Best for: Medium repairs, hairline cracks, smoothing patched areas
- Steps:
- Sand and clean the damaged area.
- Apply a base coat of joint compound.
- Embed paper or mesh tape for support.
- Let dry fully, then sand smooth.
- Apply 2–3 thin coats, sanding between each layer.
- Prime and paint for a seamless finish.
Pros: Smooth, blends with the surrounding wall, durable
Cons: Longer drying time, multiple layers needed
Limitations: Requires patience for best results
3. Medium Holes (Drywall Patch Kits)
- Material: Patch kit (mesh patch + compound)
- Best for: Medium-sized holes where drywall is missing
- Steps:
- Clean the hole and remove damaged drywall edges.
- Place the mesh patch over the hole.
- Apply joint compound over the patch, feathering edges.
- Allow to dry, sand smooth, and apply additional coats if necessary.
- Prime and paint.
Pros: DIY-friendly, prevents sinking or uneven surfaces, supports the hole
Cons: Not suitable for large or structural holes
Limitations: Only effective if the surrounding drywall is intact
4. Large Holes (Drywall Sheets)
- Material: Full drywall replacement
- Best for: Holes caused by plumbing, electrical, or major damage
- Steps:
- Cut out damaged drywall carefully.
- Measure and fit a new drywall section.
- Attach securely to wall studs using screws.
- Tape seams and apply joint compound.
- Sand smooth, prime, and paint.
Pros: Strong, permanent repair
Cons: Requires professional skill, more expensive
Limitations: Not suitable for casual DIY
Comparison of Drywall Patching Materials
| Material | Best For | Pros | Cracks in larger areas |
| Spackling | Small holes | Quick, easy, fast-drying | Cracks on larger areas |
| Joint Compound | Medium repairs | Smooth finish, blends well | Longer drying time |
| Drywall Patch Kits | Medium holes | DIY-friendly, prevents sinking | Limited for large holes |
| Drywall Sheets | Large holes | Permanent, strong repair | Requires professional skills |
DIY vs Professional Patching
| Aspect | DIY | Higher upfront, but adds value |
| Time | Longer | Saves time |
| Finish | May look uneven | Smooth and seamless |
| Durability | May crack over time | Long-lasting |
| Cost | Lower upfront | Higher upfront but adds value |
Use Cases/Scenarios:
- DIY: Small holes, minor dents, hairline cracks
- Professional: Large holes, high-visibility areas, or structural damage
- High-Humidity Areas: Use mold-resistant joint compound for kitchens or bathrooms
- Cold Environments: Avoid patching in freezing conditions to prevent cracking
Tools for Drywall Patching
- Putty knives of various sizes
- Sanding block or sponge
- Drywall saw (for large holes)
- Primer and paint
- Joint tape or mesh
Tip: Always use high-quality tools for smoother results; cheap knives or sanders can leave marks and uneven surfaces.
Best Practices & Tips
- Clean and sand the area before patching to ensure adhesion
- Apply multiple thin coats rather than a single thick coat
- Feather edges to blend with the surrounding walls
- Prime before painting to prevent color mismatch
- Allow adequate drying time between coats
- In bathrooms or kitchens, use moisture-resistant compounds
- Wear a dust mask when sanding
Conclusion
Drywall patching is simple when you select the right materials for each type of wall damage. Spackling works best for small nail holes, joint compound and patch kits are ideal for medium-sized repairs, and full drywall replacement is necessary for large or structural holes. Using proper tools, sanding, and priming ensures seamless, professional-looking walls.
While minor repairs can be tackled at home, hiring professionals like Robert Broadhurst guarantees smooth, durable results for complex or highly visible areas. By following the step-by-step methods, applying best practices, and selecting materials suited to the damage and environment, you can restore your walls to their original condition. With patience and the right approach, your home will look polished, well-maintained, and free of unsightly patches, saving time, money, and frustration in the long run.
FAQs
1: Is paper or mesh better for drywall repair?
Paper tape is stronger and ideal for corner or structural repairs. Mesh tape is easier for DIYers, resists moisture, and works well for medium holes and minor cracks.
2: What is the best thing to patch drywall with?
Spackle works for small holes, joint compound or patch kits for medium damage, and drywall sheets for large holes.
3: Do you need to sand before patching drywall?
Yes. Lightly sand around the hole to remove loose debris, frayed edges, or old paint. This ensures proper adhesion and a smooth finish.
4: What can I use instead of drywall mesh?
Paper joint tape is the standard alternative, while setting-type joint compound may suffice for shallow cracks.
5: How many coats of compound are needed?
Apply 2–3 thin coats, sanding lightly between each layer, until the patch blends seamlessly with the wall.