Drywall installation is the process of cutting and attaching large panels of gypsum plasterboard to the frame of a wall. The entire process sounds like a big and messy job, right? The good news is that it is not true. We will help you create strong walls right at home! All you need is your tools and patience.
More importantly, learning how drywall works can save money and give you results you will be proud of. We have put forward this easy guide to perfect installation with our expert inspired tips from Robert Broadhurst.
Why Drywall Installation Sounds Overwhelming
If you have ever looked at a wall and gone, “How do they make that so smooth?” Turns out a lot of homeowners have that thought about their walls and drywall repair, and you are not alone. They find the answer online and stumble upon a YouTube tutorial on DIY drywall installation. They start this project excitedly, but quickly get stuck because the boards are big and heavy.
- Homeowners often overlook project details, causing measurement issues.
- Precision is crucial for drywall installation.
- Proper tools are necessary for a clean finish.
- Exact measurements are essential.
- Skipping small details can lead to cracks and uneven walls.
Let’s Install Your Drywall
You cannot become a pro on your first try, but you can come close. We are going to make drywall installation so simple that even someone inexperienced will be able to install drywall.
Let’s dive right into the steps of drywall installation
Step 1: Measure and Mark Your Space
It is very important to measure the spaces where you will install drywall. Write the numbers down and mark where electrical outlets or switches will be. This helps avoid mistakes later, like making extra cuts you don’t need during drywall installation.
Robert Broadhurst’s pro tip:
Always double-check your measurements. One inch off can cause a full redo!
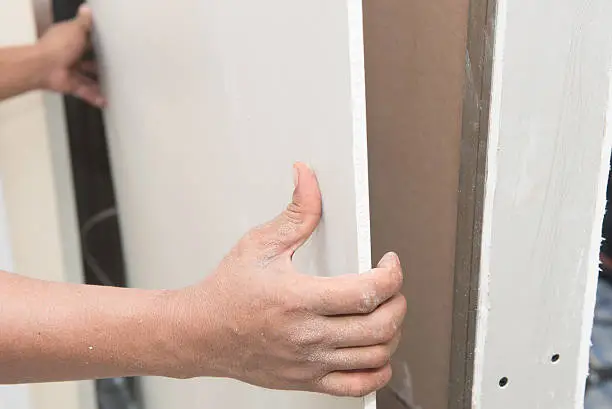
Step 2: Cut and Position the Drywall Sheets
Drywall comes in large sheets.
Follow this direction in order to cut it:
| Score it with a utility knife → Snap it along the line → Smooth any rough edges |
Your sheet is now ready. Hold it against the wall or ceiling frame. You always want the cleanest edge facing visible areas.
Step 3: Secure the Sheets with Screws
Now attach the drywall to the studs using drywall screws. Space your screws around 12 inches apart. This way, the sheet sits flat and does not move during drywall installation.
Remember: Don’t drive screws in too deep! The drywall weakens if the screws break through the paper surface.
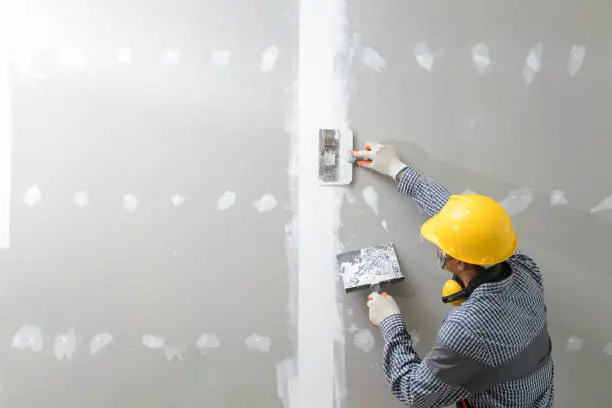
Step 4: Tape the Joints and Cover the Seams
This is the magic step that turns separate boards into one smooth wall.
- Apply drywall tape over every seam
- Add joint compound (like a creamy plaster)
- Smooth it with a drywall knife
- Let it dry! Then add a thin second and third layer.
Pro tip: Each layer should be wider than the previous layer so the seam disappears.
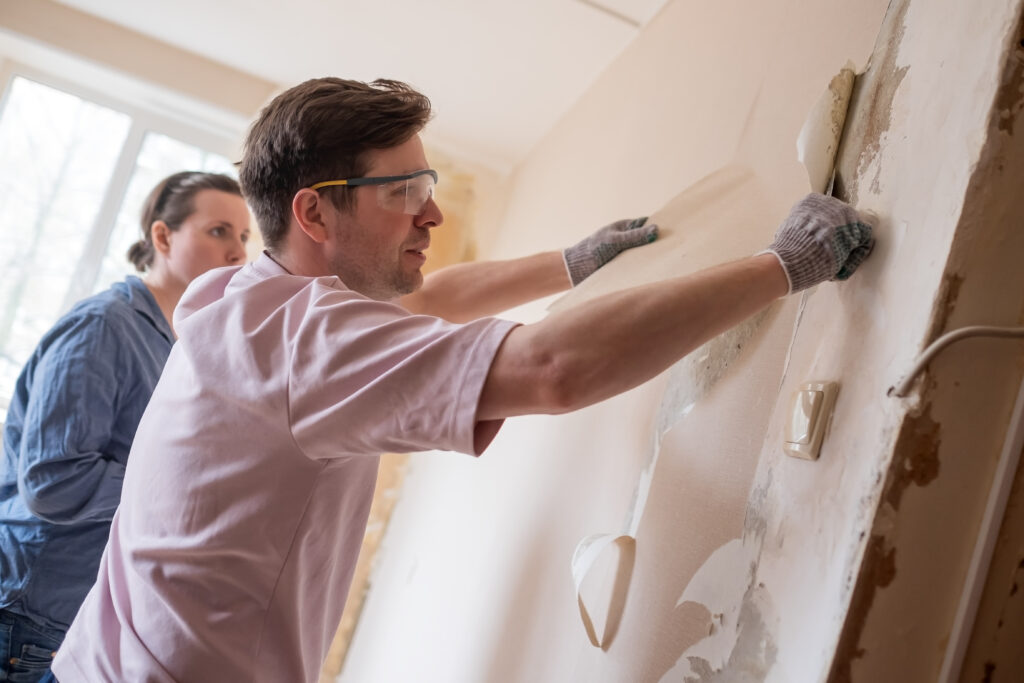
Step 5: Sand It and Keep Sanding It
This is the sanding phase. This step gives that super clean final look. A sanding sponge works great for tight corners! After the joint compound dries:
| Sand gently | Remove bumps |
| Keep the wall dust-free | Avoid dry sweeping |
Step 6: Prime and Paint the Wall
Drywall installation absorbs a lot of paint, which is why primer is always your best friend before finishing with your favorite color. Once you are done painting, there is nothing left to do other than celebrate! You just handled drywall installation like a pro!
Bonus Tips for Better Results
Always remember our goal is strong and clean walls that last for years.
Keep reading to know how to avoid beginner mistakes:
- Work from the top down
- Use the right thickness (½-inch is most common for homes)
- Keep seams away from door or window corners
- Drywall can be heavy. Have a friend or family member help!
Wrapping It Up
Perfect drywall installation does not have to be confusing, even if it is your first time. Building solid and beautiful walls in your home is totally possible with good measurements, clean cuts, taping, and sanding. But whenever the job gets tricky, you can trust Robert Broadhurst to bring quality craftsmanship to your drywall installation project. The walls of your dreams are just a few steps away!
FAQ
Can drywall be done in one day?
A complete drywall job cannot be done in one day. Each coat of mud requires 12 to 24 hours of drying time between applications.
Is drywall ruined once it gets wet?
Drywall is ruined once it remains wet for over 24 to 48 hours. It causes the material to lose its structural integrity and creates an ideal environment for mold.
What is the difference between drywall and plaster?
Drywall is a pre-formed sheet of gypsum pressed between paper. It is fast and affordable to install. Plaster is a finishing material made from a mixture of lime or gypsum, sand, and water.
What are two common mistakes made during drywalling?
The two mistakes are overdriving screws and improper joint compound application. Applying too much mud makes sanding extremely difficult, while applying too little results in visible seams.
Is drywall waterproof?
Standard drywall is not waterproof. Green boards are available for bathrooms, but even these are only water-resistant, not fully waterproof.