Have you ever noticed small nail holes making your walls look ugly? Wondering about Wall Hole Repair and how to fix them quickly and easily? The process is simpler than you might think. Start by prepping the area, fill the holes with spackling compound, let it dry, and sand it smooth. Afterward, prime and paint to blend seamlessly. For even faster fixes, everyday items like toothpaste, glue, and baking soda paste, soap, crayons, or baking powder can provide a quick solution—helping you restore your wall’s smooth appearance in no time.
No More Holes: The Pro’s Guide to Nail Hole Patching
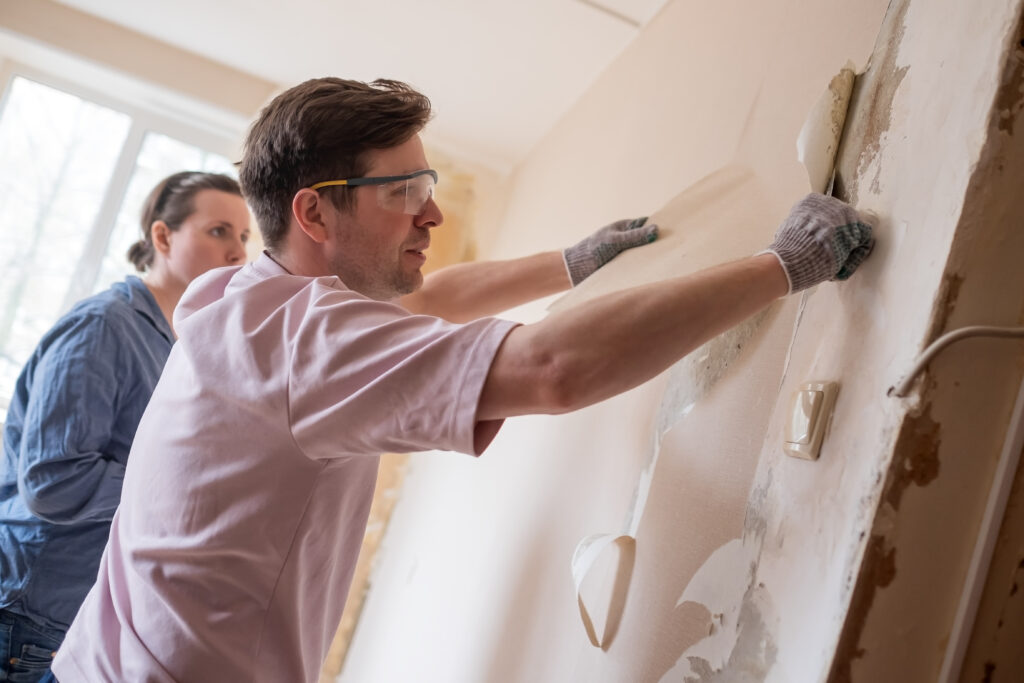
One easy yet crucial step in keeping your house looking nice is patching nail holes. Understanding this procedure safeguards your investment, whether you’re getting ready for a new paint job or simply want immaculate walls. Proper wall repair, in our opinion at Robert Broadhurst – Plaster & Repair, not only improves appearance but also maintains the integrity and worth of your home.
For a flawless nail hole patch, follow this guide:
Step 1: Prepare the Area
Start by removing any raised drywall or loose paint chips surrounding the hole. To ensure a clean, debris-free area, lightly smooth the immediate surface with a fine-grit sanding sponge. To improve spackle adhesion, quickly wipe away any remaining dust with a moist cloth.
Step 2: Apply Spackling Compound
Apply a small amount of lightweight spackling compound to a putty knife. Press the spackle firmly into the hole, ensuring it is completely filled. Scrape away the excess with the putty knife held at an angle to create a smooth, level finish.
Step 3: Let it Dry Completely
Depending on the product, it may take anywhere from 30 minutes to several hours for the spackling compound to completely dry. A lot of lightweight spackles have a color-change indicator that changes from pink to white when it’s dry and ready for use.
Step 4: Sand the Patch Smooth
After the spackle has dried, gently sand the repaired area with a fine-grit sanding sponge until it is completely smooth and flush with the surrounding wall. In order to make the wall hole repair invisible, this step is essential.
Step 5: Prime and Paint
Use a moist paper towel or tack cloth to remove all of the sanding dust. To avoid uneven paint absorption, prime the surface for optimal results. Use matching paint to touch up the area, feathering the edges to create a seamless blend.
Instant Fixes: Smart Household Hacks for Nail Holes
Fast wall hole repair is essential to maintaining the neat, well-kept appearance of your walls. You can maintain the look of your space without the need for specialized products or tools by using basic materials that you can find around the house for quick and easy touch-ups in between larger projects.
Here are five quick fixes for small nail holes using common household items:
Apply Toothpaste
White, non-gel toothpaste is good for a temporary, fast filler. Before applying paint to touch it up, squeeze a small amount into the hole, smooth it flush with your finger, and allow it to dry.
Make a Baking Soda and Glue Paste
To make a thick paste, combine baking soda and a few drops of white craft glue. This mixture provides a more durable fix because it dries hard. When it’s dry, sand it after applying and smoothing it.
Rub With a Bar of Soap
Light-colored walls can be patched with a plain white bar of soap. Wet the end a little and move it in a circular motion over the hole until it is smooth and completely hidden.
Fill With a Crayon
Choose a crayon that complements the paint colour for coloured walls. To fill the hole with wax, firmly twist the crayon over it. You can smooth the surface with a gentle cloth.
Apply Baking Powder and Water
Mix baking powder with a small amount of water to make a thick paste. Small holes can be momentarily filled with this mixture. Before sanding, press it in, smooth it out, and let it dry.
Conclusion
Wall hole repair doesn’t have to be difficult. No expert is needed if you follow the proper procedure and use a few basic supplies to restore your walls to a perfect finish. These simple procedures help preserve the beauty and worth of your area, whether you use household items for a fast touch-up or spackling for a permanent fix. By taking the time to fix small flaws, you can keep your house looking nice and well-maintained while also making it look better.
FAQs
Q. What’s the quickest way to Wall hole repair?
Use white toothpaste as a temporary filler.
Q. Should I use primer after patching?
Yes, priming ensures even paint coverage and blending.
Q. How long does spackle take to dry?
Most lightweight spackle dries in 30 minutes to a few hours.
Q. How do I make patched nail holes look invisible after painting?
Feather the paint around the patched spot and match your wall’s texture. Proper sanding and priming ensure the repair blends seamlessly.
Q. What tools do I need for wall hole repair at home?
A putty knife, spackling compound, sanding sponge, primer, and matching paint are all you need for quick and professional-looking results.